Visualize
In this Unity window, you can modify the parameters of your files in order to have an optimize view of your PointClouds or just visualize is as you wanted with your own parameters.
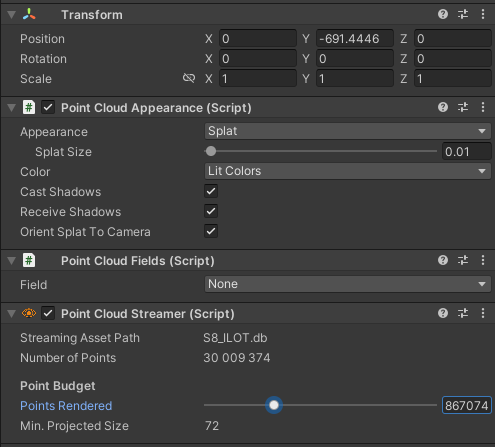
Point Cloud Appearance
Point Cloud Appearance component will handle how your points will be displayed.
Shapes
- Point: simple dots
- Splat: plane circle with all same diameter
- AdaptativeSplat: plane circles with different diameters
- Custom: define your own rendering shader
Min depth split size: size / diameter of your splat
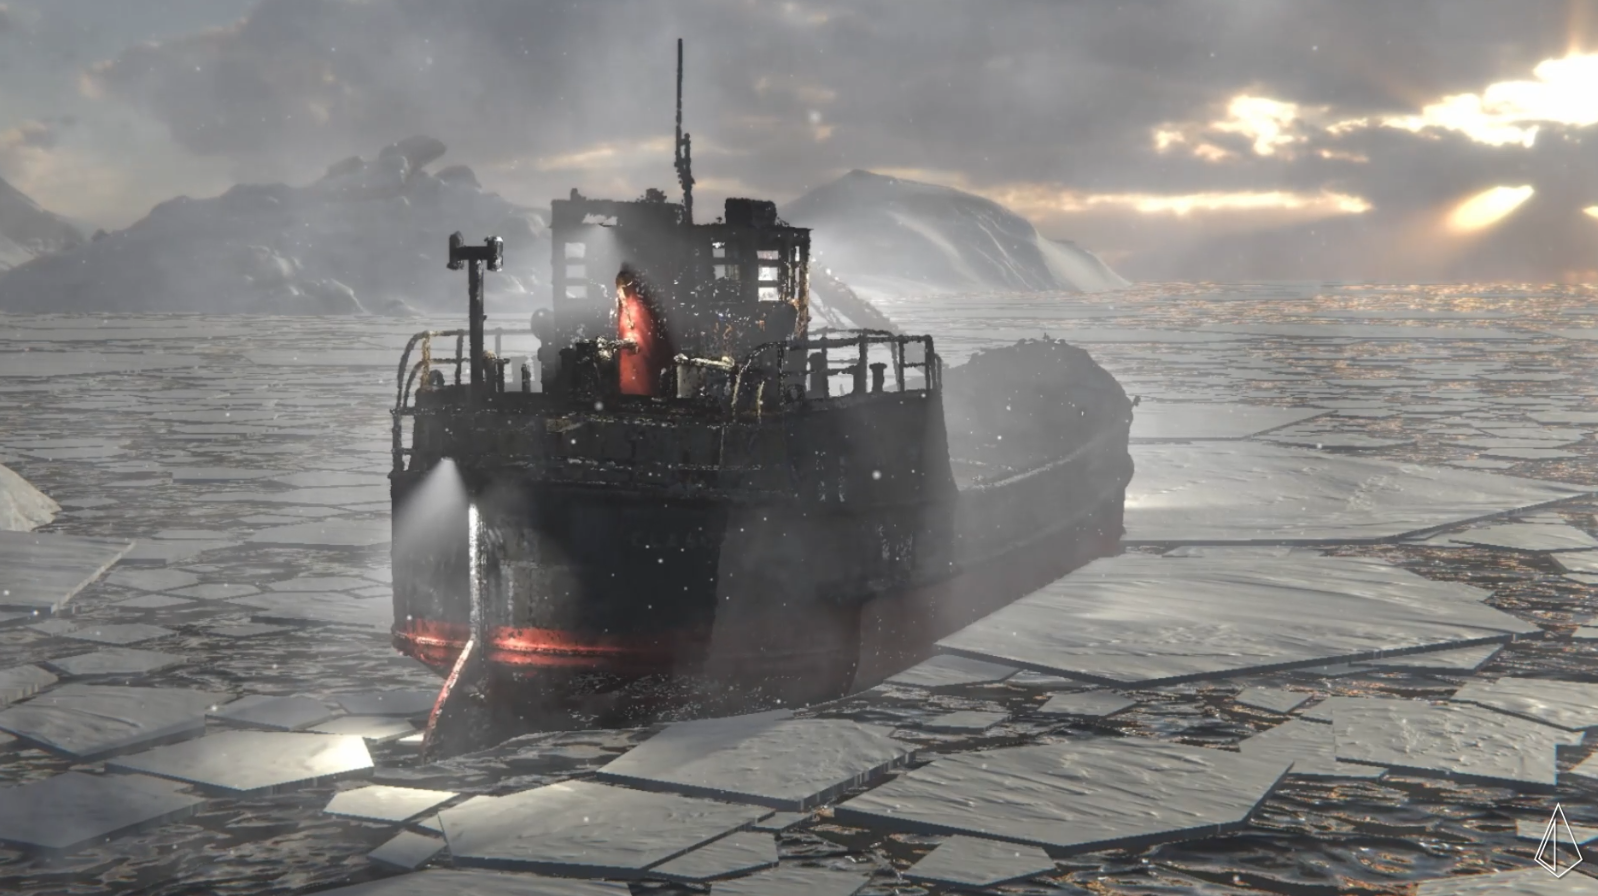
Color
- RGB: display the raw point cloud colors
- Gradient: define a gradient using Unity to color your point clouds according to the global height (Y axis in Unity Editor).
- Lit: Color your pointcloud according to base color and Unity lights.
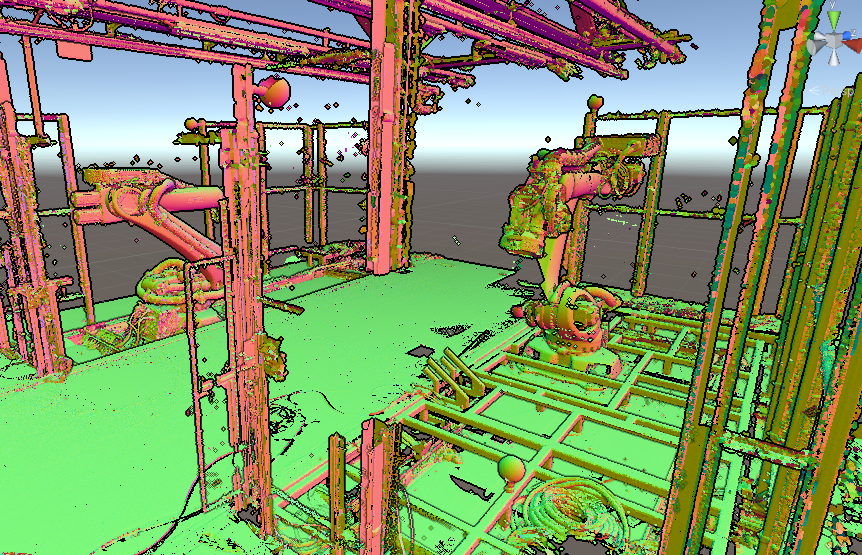
Lighting
You can relight your pointcloud according to Unity realtime lights. In order to have this option, you need to import your pointcloud with Normals.
Normals will allow us to compute lighting. Use Point Cloud Field to visualize computed normals.
Point lights, directionnal lights and spot lights are supported. You can learn more about Unity lights here. Area lights are not supported. Fog is supported.
You can control shadows behaviour with those two parameters:
- Receive shadows: Does this pointcloud receive shadows?
- Cast shadows: Will this pointcloud cast shadows?
If shadows are still not displayed despite using these options, double-check that shadows are enabled on your lights.
HDRP
Stipple does not support HDRP yet.
Point Cloud Field
Fields are additional data you can have on your point clouds such as the distance computed between your point cloud and a 3D geometry. This is sort of metadata for each one of your point.
If you didn't run any computation, this field will be empty. You can use this field to quickly switch between a computation result or your raw point cloud.
Point Cloud Streamer
Use to configure your point cloud properties:
- File path: The path where to find your file imported.
- Point count: total number of points in this loaded point cloud.
- Point budget: how many points you want your computer to render at most, we handle ourself which point are the more convenient to render - Move the slider to choose your point budget.
- View camera: which camera will be used to render point cloud (used by point budget to determine which points to render) and also for optimizations.
Main Camera
If you use Cinemachine or have multiple cameras in your scene, you can set the View camera to Main camera. Thus, point cloud streamer will always use the current rendering camera.
Post process
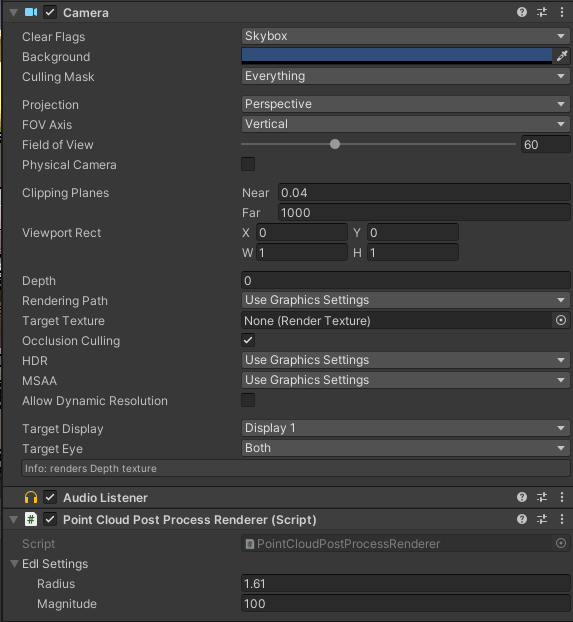
You can use Eye Dome Lighting (EDL) to outline your points and give some shape to your point clouds. In order to enable this post-process effect, add the script "PointCloudPostProcessRenderer" to your camera.
- EDL Radius: radius of the outline effect. The higher the value is the thicker your outline is.
- EDL Magnitude: intensity of the "fake lighting".
Post processing
Unity standard post processing package is supported. You can add fancy bloom or depth of field effect on your Unity camera.
Point Cloud Cross Section
In order to see a cross-section of your point clouds, you can create a new GameObject.
- Click on GameObject menu, Create Empty
- Add a Point Cloud Cross Section component to your GameObject.
- Move or rotate this GameObject.

Cross section across multiple point clouds
Cross section is global and will affect every point clouds in your scene.